Open your browser and head to droppost.ai. This is the main marketing site where you can learn about the product, check pricing, and start your signup.
Help / Creating your DropPost account
Creating your DropPost account
Before DropPost can watch a Dropbox folder and start publishing to your social accounts, you need a DropPost account of your own. This guide walks you through signing up, verifying your email, and logging in for the very first time. It only takes a couple of minutes, and once it's done you're ready to connect Dropbox and your platforms.
What you'll need
A business email address you check regularly, and a credit card if you plan to sign up for the Free plan (it's required at signup so your account can auto-convert to Pay-per-post later, but you won't be charged anything on Free until you cross that point).
Steps
1
Go to droppost.ai.
2
Click "Sign up."
You'll find the Sign up button in the top navigation bar, or as the main call-to-action button on the homepage. Click it to start creating your account.
3
Enter your business name, email, and password.
Fill in the signup form with your business name, the email address you want DropPost to use, and a password. This information is what will identify your account and where DropPost will send any notifications.
4
Verify your email address.
After you submit the form, DropPost sends a confirmation email to the address you entered. Open your inbox, find that email, and click the confirmation link inside it. This step confirms the email is really yours and activates your account.
5
Log in for the first time.
Once your email is verified, go back to droppost.ai and log in with the email and password you just created. This takes you into the DropPost portal itself for the first time.
6
Take a look at your Dashboard.
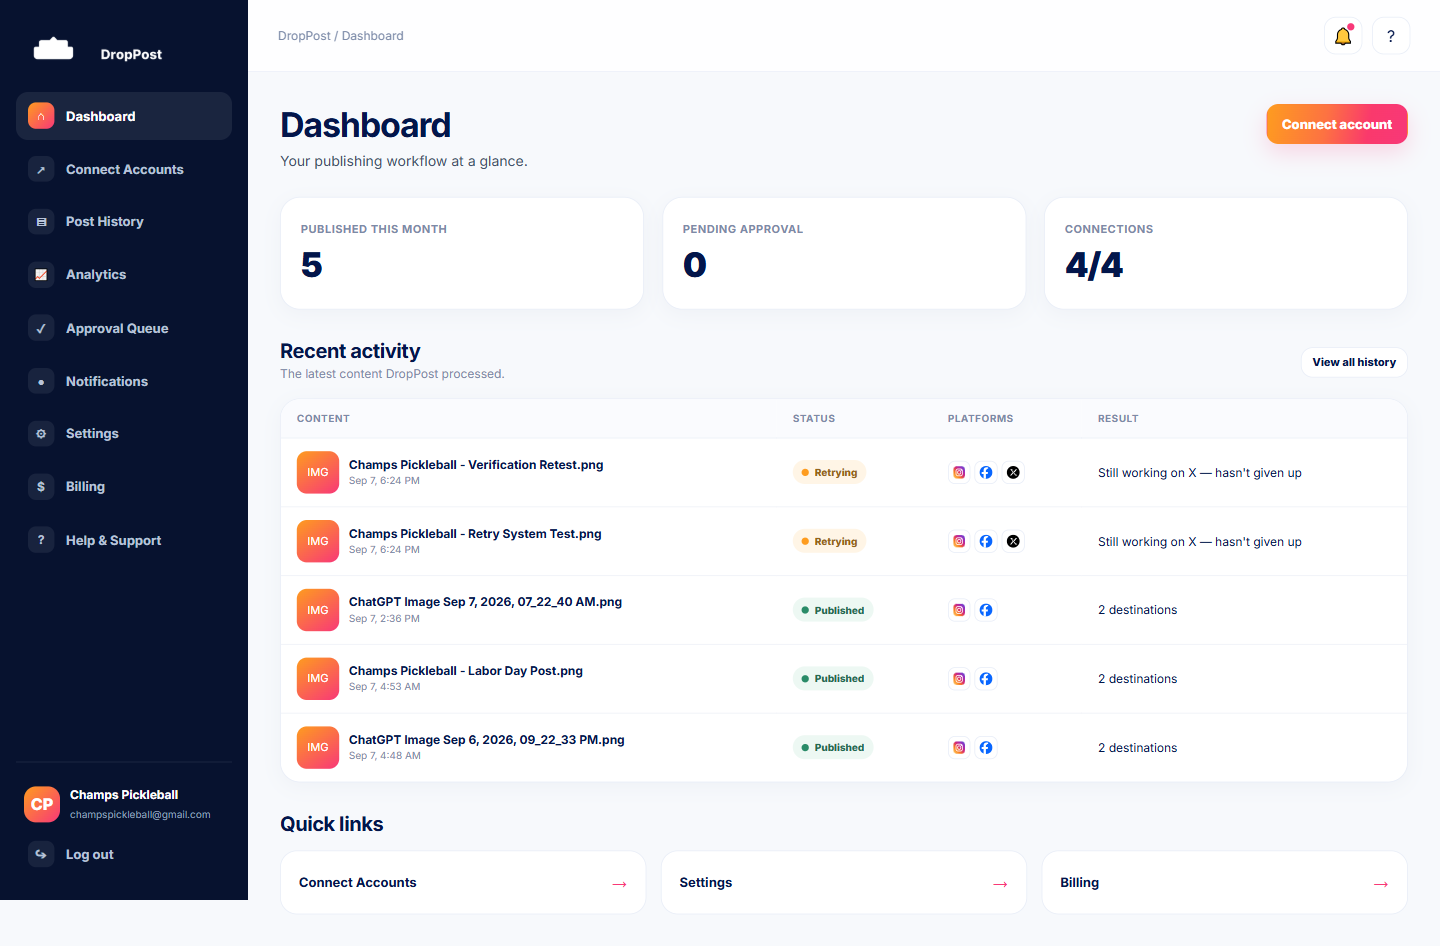
After logging in, you'll land on the Dashboard. Since you haven't connected anything yet, it will look mostly empty — that's expected. This is the home base you'll return to as your account fills up with connected accounts and published posts.
Tip: Use an email address you check often for your DropPost account. That's where account notices, billing alerts, and support replies will land.
What happens next
Your account is created and you're logged into the portal. The next step is connecting Dropbox so DropPost has a folder to watch.