
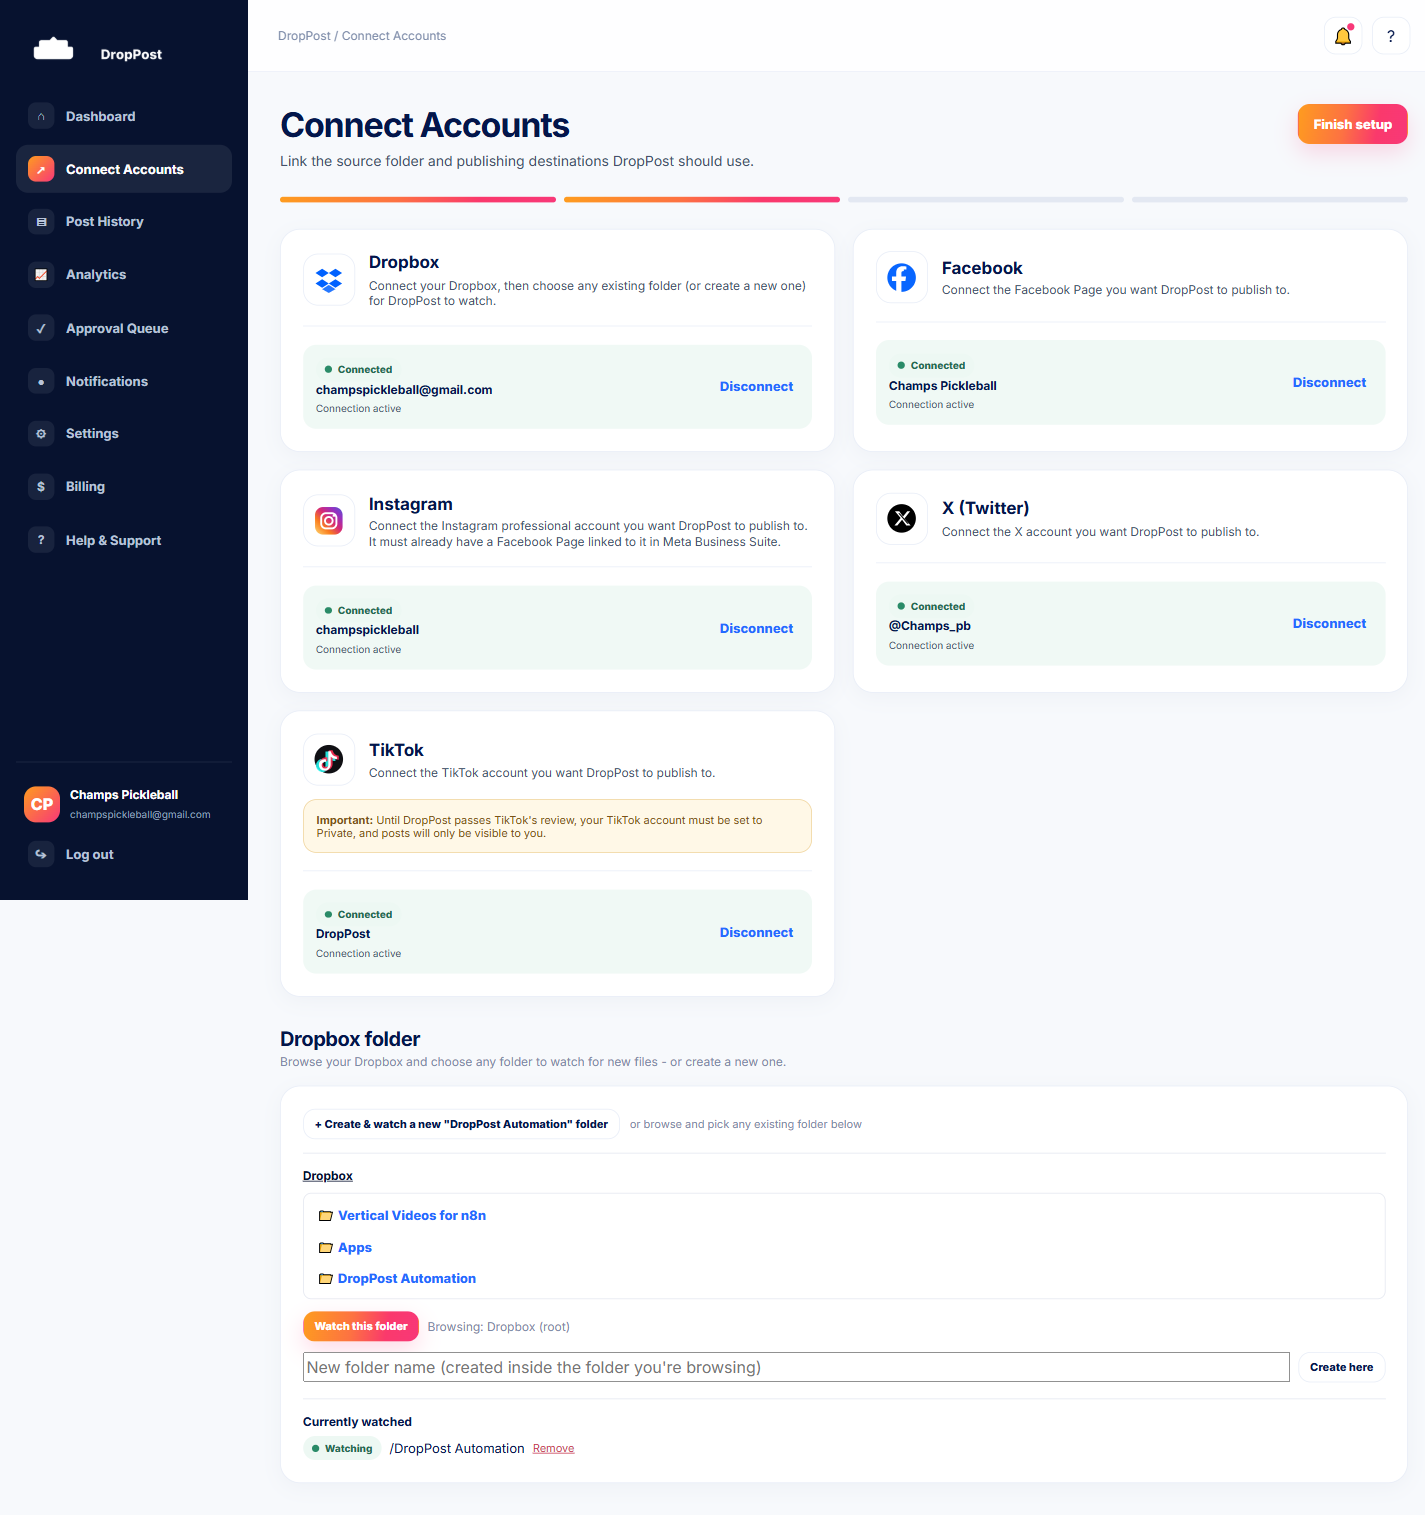
From the DropPost portal, click "Connect Accounts" in the sidebar. This page is where you connect and manage every account DropPost works with — Dropbox and each social platform.
Help / Connecting Dropbox
Connecting Dropbox
Dropbox is the source for everything DropPost publishes — it's the folder you drop photos and videos into, and the thing DropPost watches around the clock. This guide covers connecting your Dropbox account and picking the exact folder you want DropPost to keep an eye on.
What you'll need
A DropPost account (see Creating your DropPost account) and a Dropbox account you're logged into or can log into.
Steps
1
Open Connect Accounts.
2
Click "Connect" on the Dropbox card.
Find the Dropbox card and click its Connect button. This starts the authorization process.
3
Log in and authorize on Dropbox's own site.
You'll be taken to Dropbox's own login and consent screen — this part happens on Dropbox's site, not DropPost's. Log in with your Dropbox credentials and approve the permissions DropPost is requesting.
4
Choose or create the folder DropPost should watch.
Next you'll pick the specific Dropbox folder you want DropPost to monitor. You can select an existing folder or create a new one right there. This is the one folder where all your future drops for auto-posting will go.
5
Confirm it shows as Connected.
You'll be brought back to the DropPost portal automatically. Check the Dropbox card on the Connect Accounts page — it should now show a "Connected" status along with the folder you chose.
Heads up: Only files dropped into the folder after you connect it get picked up. Anything already sitting in that folder before you connected won't be retroactively posted.
What happens next
Dropbox is connected and DropPost is now watching your chosen folder. From here you'll want to connect at least one social platform so there's somewhere for your drops to actually publish.