
In Zapier, start a new Zap and choose "Webhooks by Zapier" as the trigger, then select Catch Hook. In Make, add a "Webhook" module as the first step of your scenario and choose Custom webhook.
Help / Connecting Zapier or Make
Connecting Zapier or Make
DropPost can call a URL of your choosing every time a post publishes or fails, which is exactly what a Zapier or Make webhook trigger needs to kick off a workflow of your own — logging every post to a spreadsheet, alerting a Slack channel, or anything else you build downstream. This guide covers pasting that webhook URL into DropPost and confirming it actually fires.
What you'll need
A Zapier or Make account, and access to DropPost's Settings page.
Steps
1
Create your webhook trigger in Zapier or Make.
2
Copy the generated URL.
Both Zapier and Make will generate a unique URL for that trigger. Copy it — you'll paste it into DropPost next.
3
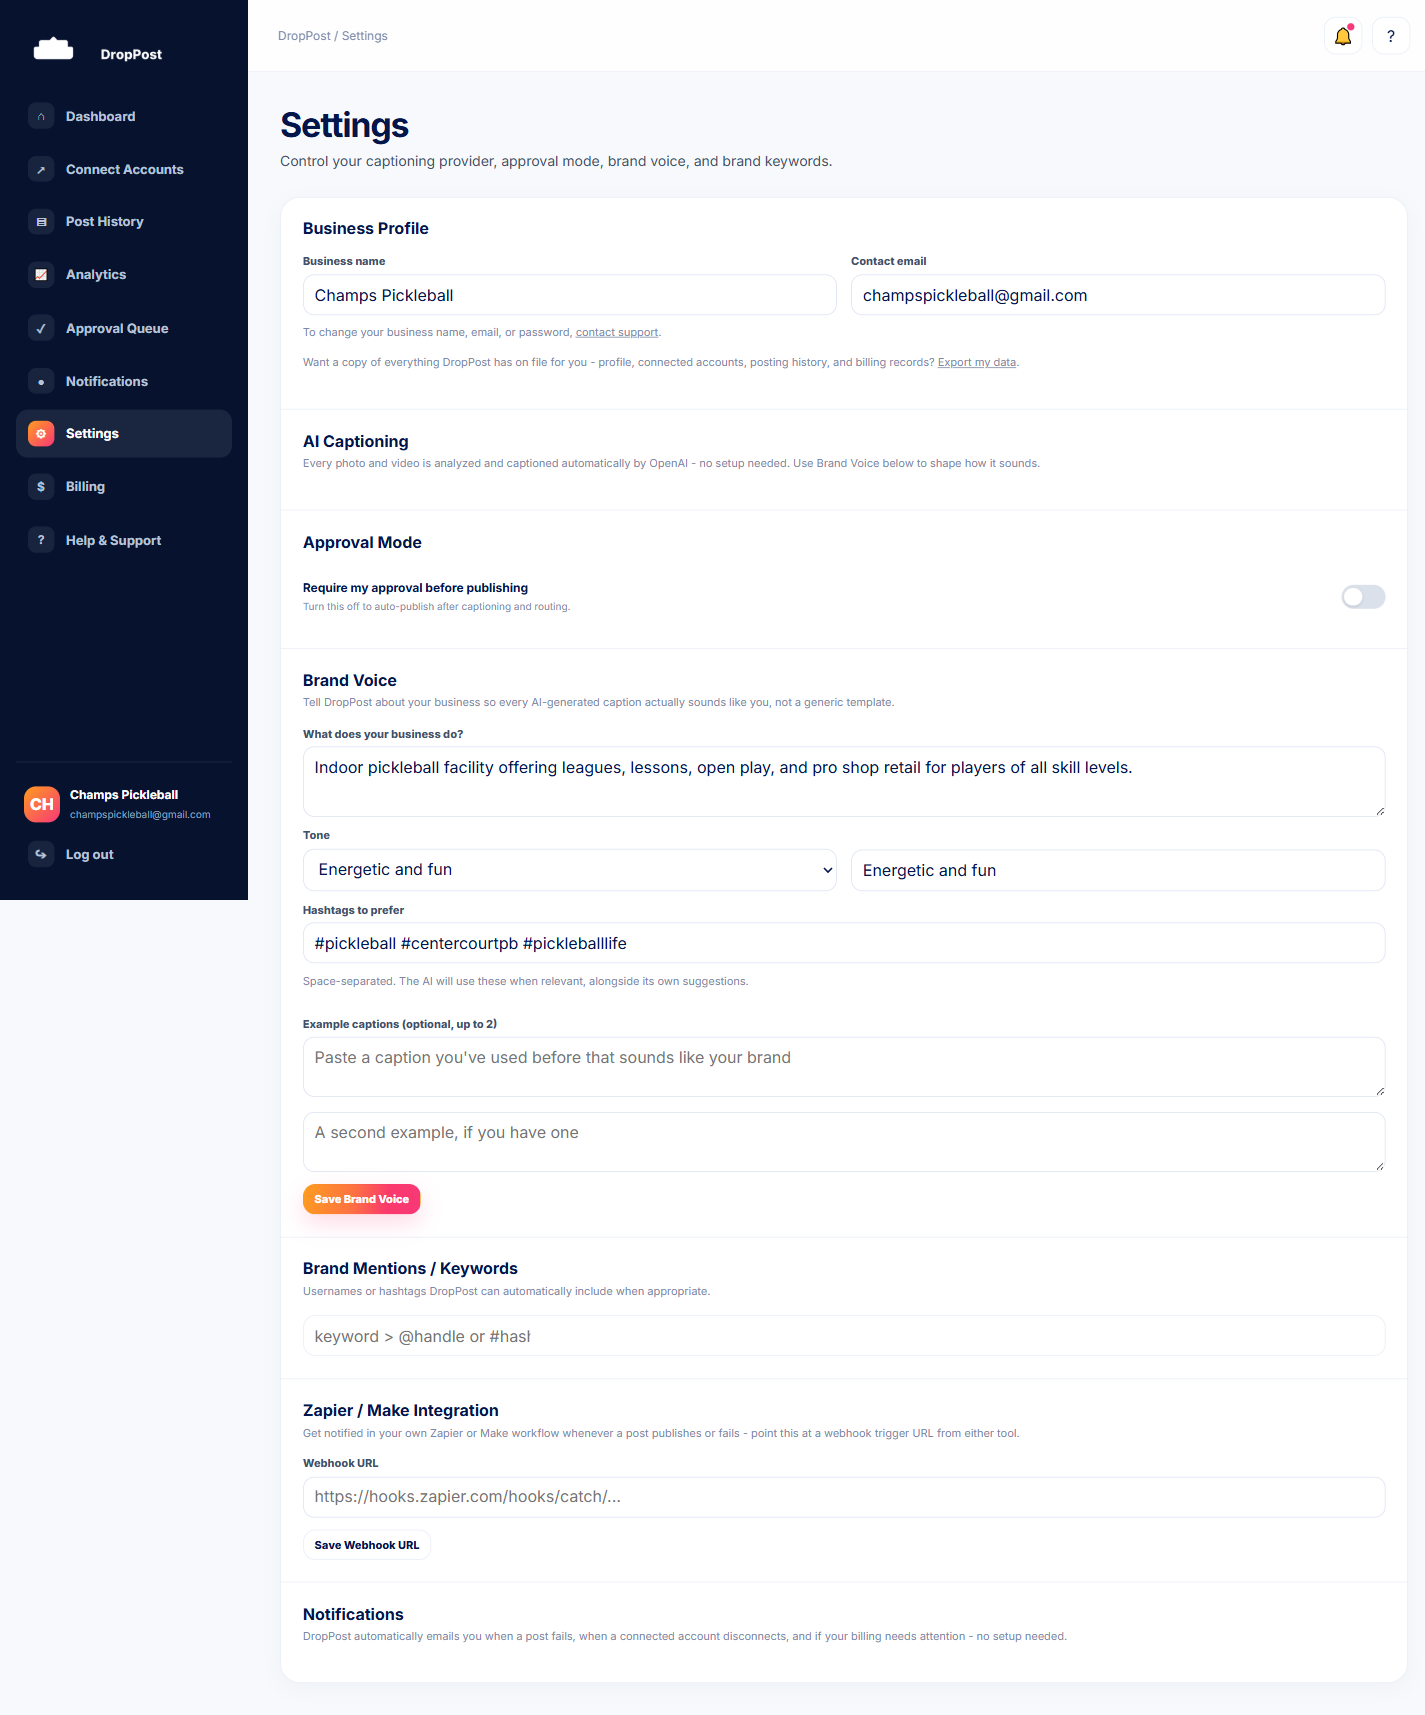
Open Settings in DropPost.
Log in to your DropPost portal and click Settings in the navigation.
4
Find the webhook URL field and paste your URL.
Locate the webhook field on the Settings page and paste in the URL you copied from Zapier or Make.
5
Save your changes.
Click Save. DropPost will now call that URL whenever a post publishes or fails.
6
Trigger a test post.
Drop a test photo or video into your connected Dropbox folder and let it publish. Then check your Zap or Make scenario to confirm it received the webhook and fired as expected.
Tip: The webhook fires on both success and failure, so a single Zap or scenario can branch on the two outcomes — for example, logging every successful post to a spreadsheet while alerting a Slack channel only when one fails.
What happens next
Every future publish or failure from DropPost now triggers your connected Zap or Make scenario automatically, with no manual step required.