
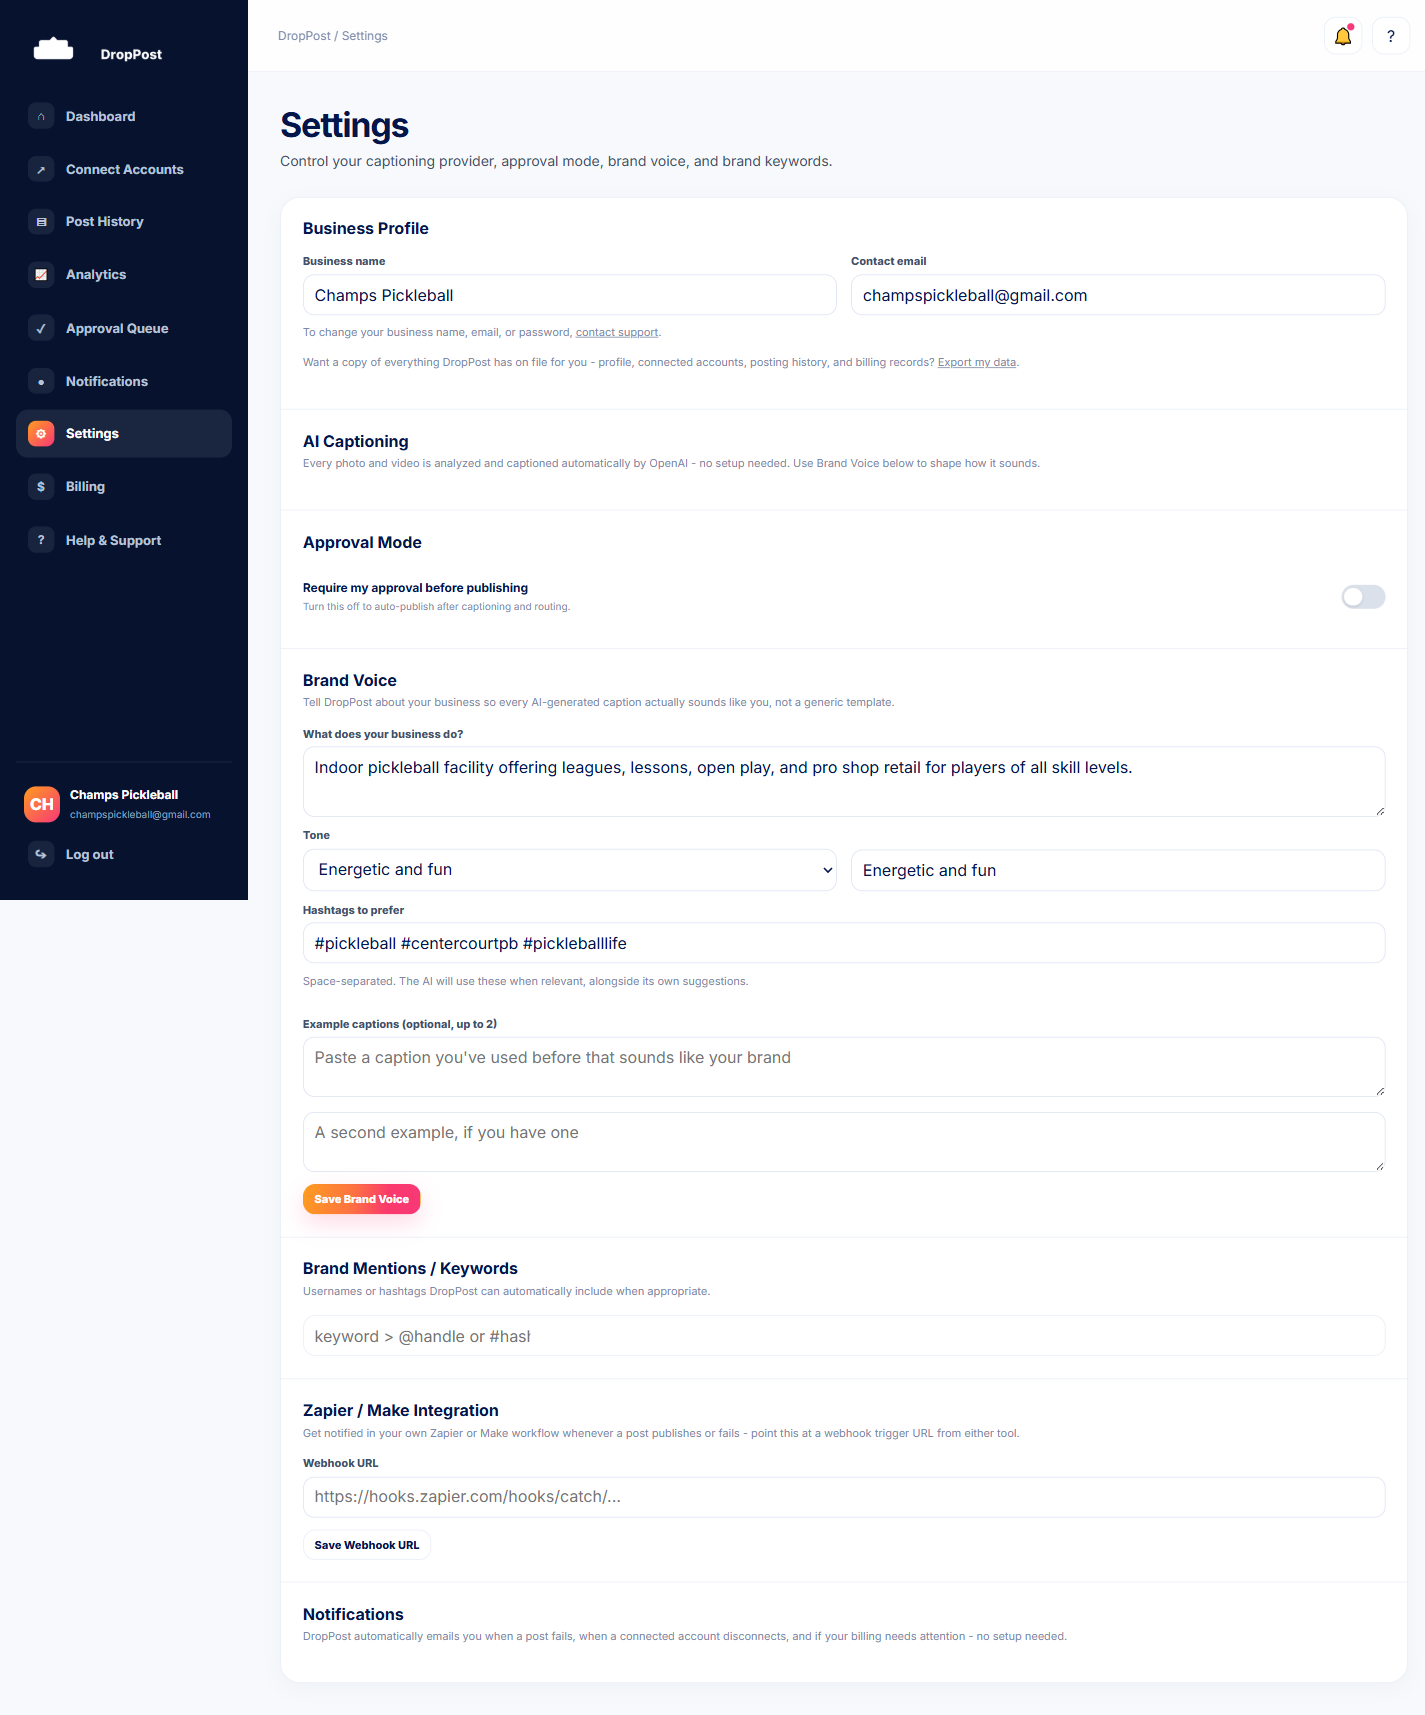
From the portal navigation, go to Settings. Account deletion is initiated from here.
Help / Deleting your account
Deleting your account
If you decide to leave DropPost, account deletion is initiated from Settings. Here's exactly what happens when you do it — what's removed right away, and what's kept and why.
What you'll need
Access to your account settings. Consider exporting your data first (see the previous guide), since deletion can't be undone.
Steps
1
Open Settings
2
Understand what gets deleted
Confirming deletion revokes every connected platform token — Facebook, Instagram, X, and TikTok — so DropPost no longer has any access to post on your behalf. Your personal data is deleted from the account as well.
3
Understand what's retained, and why
Billing and payment ledger records are not hard-deleted. Instead, they're anonymized and kept only for as long as legal and tax retention requirements require. This is a standard compliance requirement, not a hidden catch — it's disclosed here plainly so there are no surprises.
4
Confirm the deletion
Once you confirm, the deletion is final. There's no way to restore a deleted account, which is exactly why exporting your data beforehand is worth doing.
Exporting your data first (see the previous guide) is worth doing before deleting, since deletion can't be undone.
What happens next
Your platform connections stop working immediately, and your personal data is removed from DropPost. Only anonymized billing records remain, held solely to meet legal and tax obligations.