
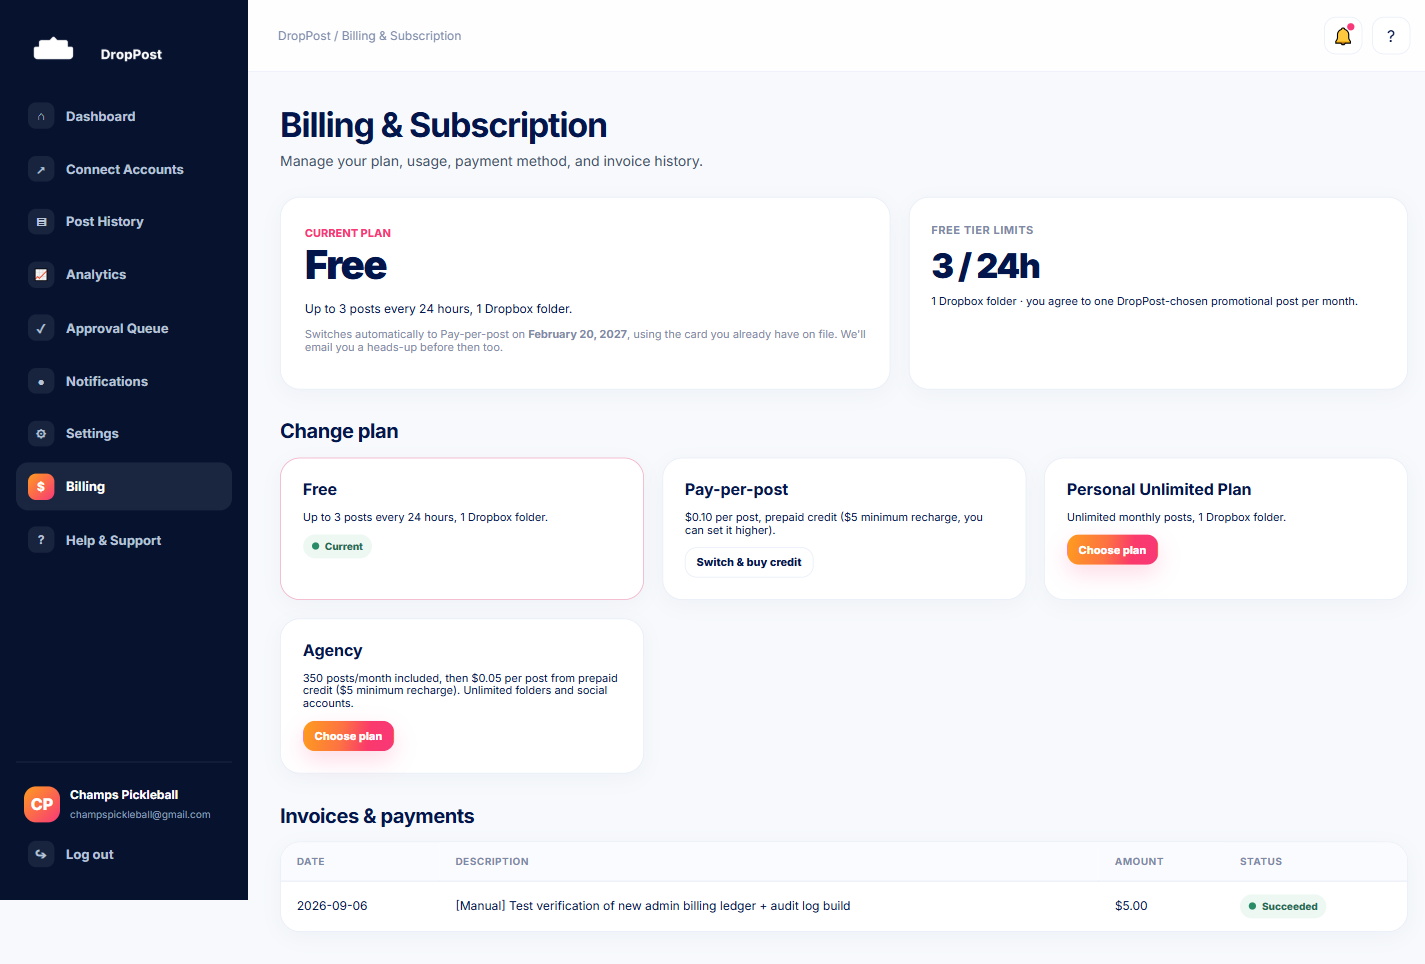
From the portal navigation, go to Billing & Subscription. This page shows your current plan, your recent usage, and the payment method on file.
Help / Managing billing & your payment method
Managing billing & your payment method
Your Billing page is the one place to see your current plan, check usage, update your payment method, or switch plans entirely. It also tells you immediately if something's wrong with a payment — no digging through email required.
What you'll need
Just be logged into your DropPost portal. No extra setup is needed to view or manage billing.
Steps
1
Open the Billing page
2
Review your plan and usage
Depending on your plan, you'll see things like your post count for the current period, your Pay-per-post credit balance, or your included Agency post allowance. This is the fastest way to confirm everything is tracking the way you expect.
3
Update your card or change plans
Clicking through from the Billing page hands you off to Stripe's secure hosted billing portal. From there you can update your payment method, switch plans, or cancel — Stripe handles the sensitive card details directly, so DropPost never sees or stores your card number.
4
Understand a Billing Hold
If a payment fails, publishing pauses automatically and the Billing page shows exactly why — this is called a Billing Hold. Once you resolve the payment issue in the Stripe portal (usually by updating an expired or declined card), the hold lifts and publishing resumes on its own.
Nothing dropped into Dropbox during a Billing Hold is lost — it publishes automatically as soon as billing is fixed, so there's no need to re-drop it.
What happens next
Any change you make in the Stripe portal — a new card, a plan switch, a cancellation — reflects back on your DropPost Billing page automatically, usually within moments.